Google Docs is a powerful business productivity application loaded with handy features for collaboration. Although many people use Google Docs every day, there are still plenty of users who are hesitant to leave their old desktop office applications behind and adopt cloud-based options like Google Docs. Most of these hesitant users doubt the workability of Google Docs and have yet to explore its full functionality to see for themselves how productive Docs could help them be.
Here, we’ve detailed several Google Docs tips for adding and editing images that make the app more useful and help you stay more productive, as explained by Zapier. These tips can be helpful to users from all walks of life and can help you better manage work files, school assignments, or plan your upcoming family reunion…the list goes on and on!
If you’re feeling unsure about the switch to Google Docs, or you’re just looking for some tips to make the best use of your time, these Google Docs tips are right up your alley!
Add and Edit Images
1. Insert an image using its URL
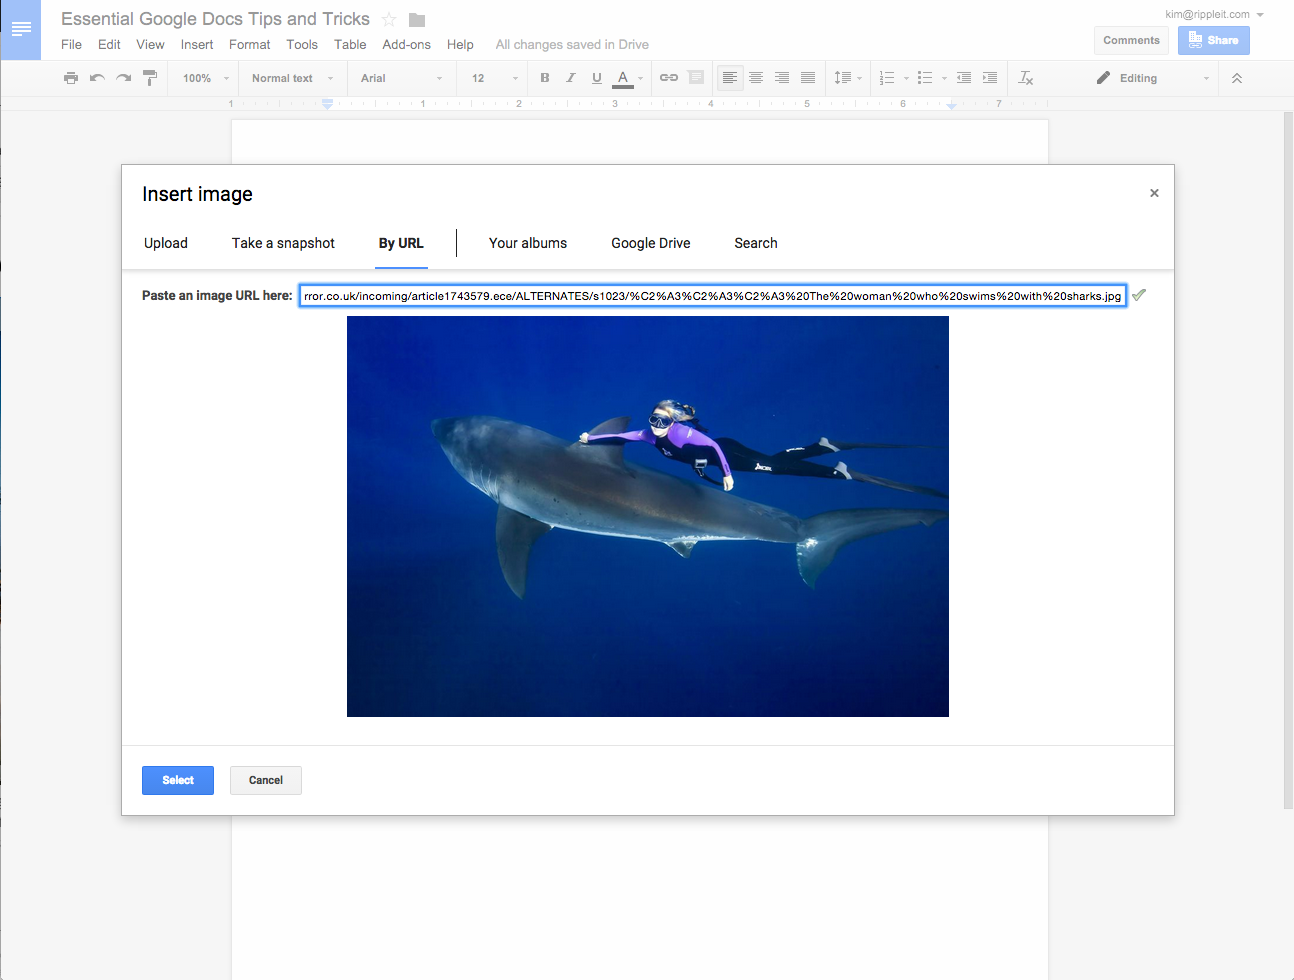
Google Docs allows you to add images in several ways, one of which is by its URL. You can add any online image by clicking “Insert” in the menu bar, choosing “Image” from the dropdown list, navigating to the option “By URL,” and pasting your image link in the text box. Google Docs will save the image in your document so that each time your document is opened, the image will be visible.
2. Search for an image
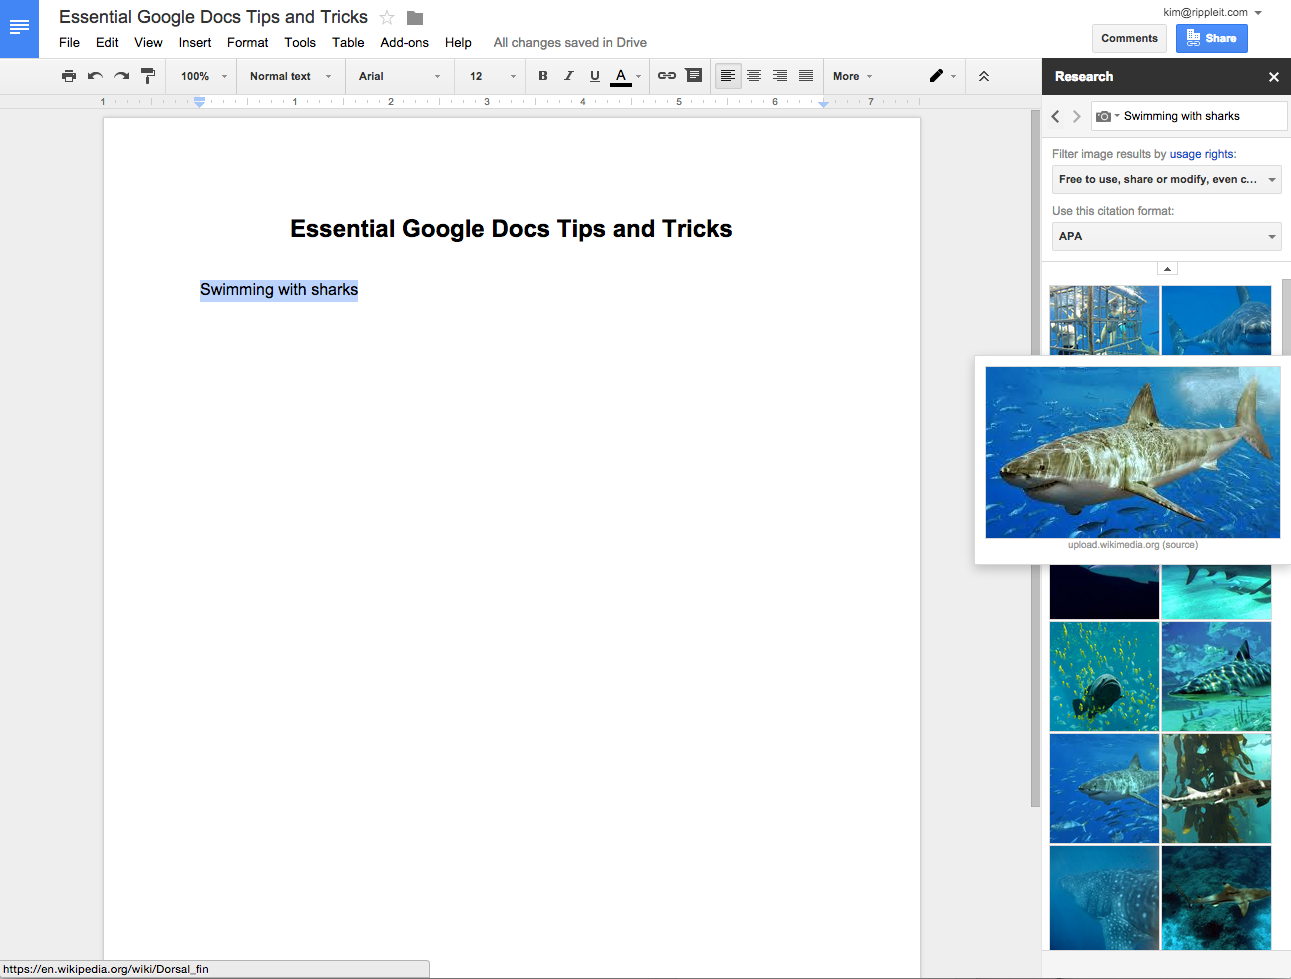
The Research tool can help you search the web for images using your keyword(s) of choice right within the sidebar. To open the tool, navigate to the “Tools” menu and select “Research.” You can filter your image search results by usage rights and automatically add a citation in your chosen format (if you choose to do so). You can delete the citation if you don’t want or need one. If you click on an image in the results, Docs will take you to the URL where the image appears; dragging the image allows you to place it directly into your document.
3. Edit an image
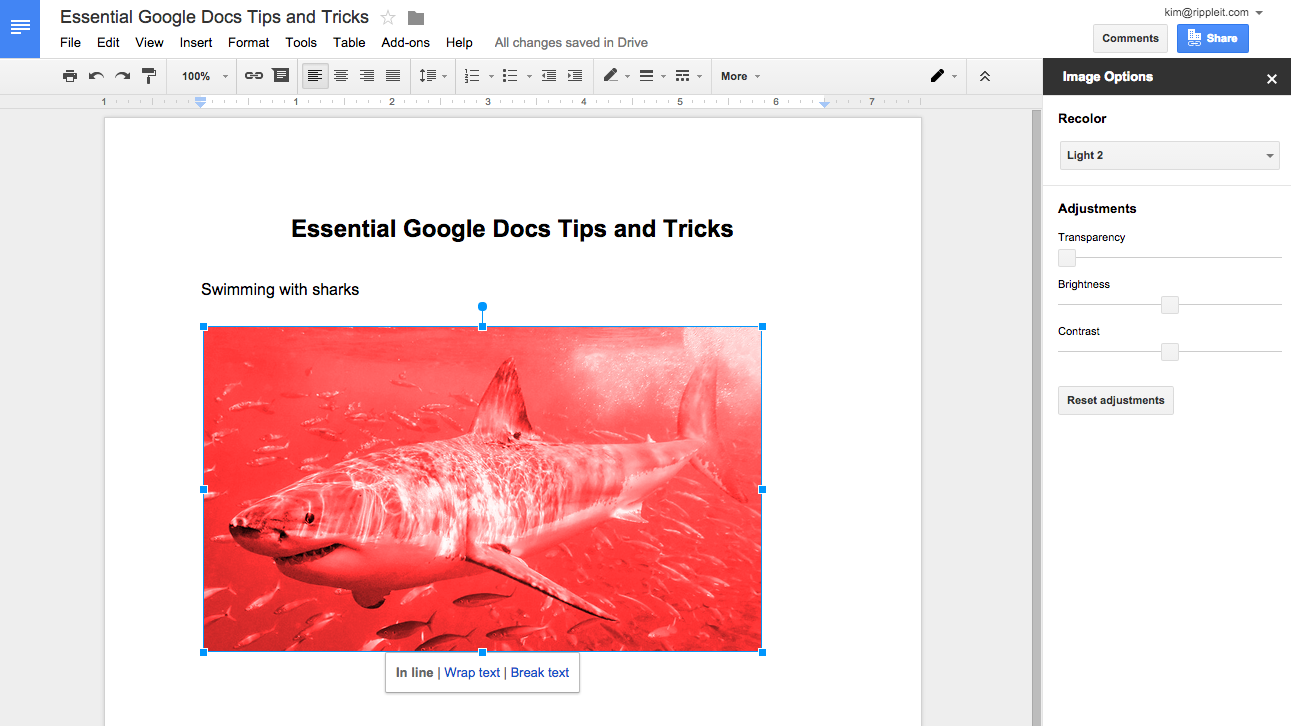
Selecting “Format,” then “Image Options” from the toolbar (or right-clicking the image and selecting “Image Options”) will pull up the sidebar that will allow you to make some basic edits to your image. From here, you will be able to crop the image, edit the image’s transparency, brightness, contrast, or even recolor the image (as shown).
4. Add image alt text
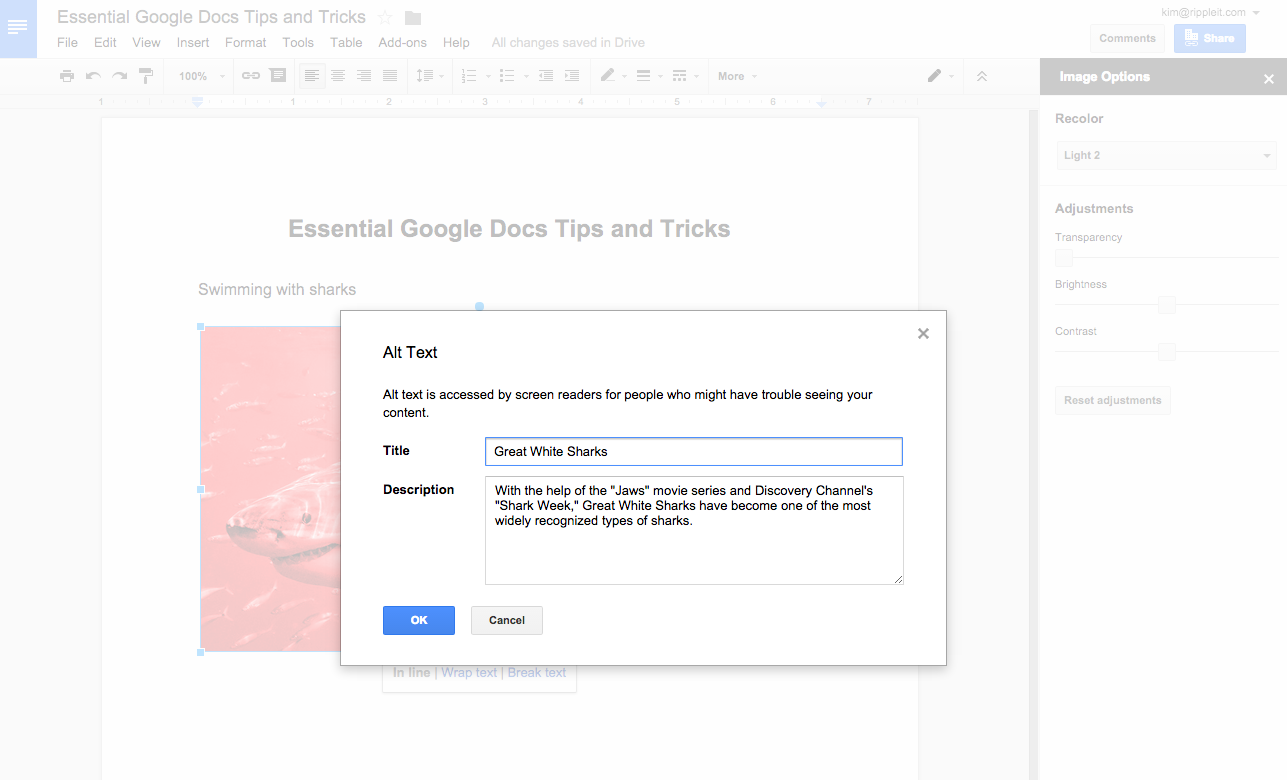
You can add an alternate text title and description to your image by selecting “Alt Text” from the “Format” menu’s options. Typically, alt text doesn’t appear in your document unless someone has accessibility features turned on or if the reader’s connection is too slow and unable to load images.
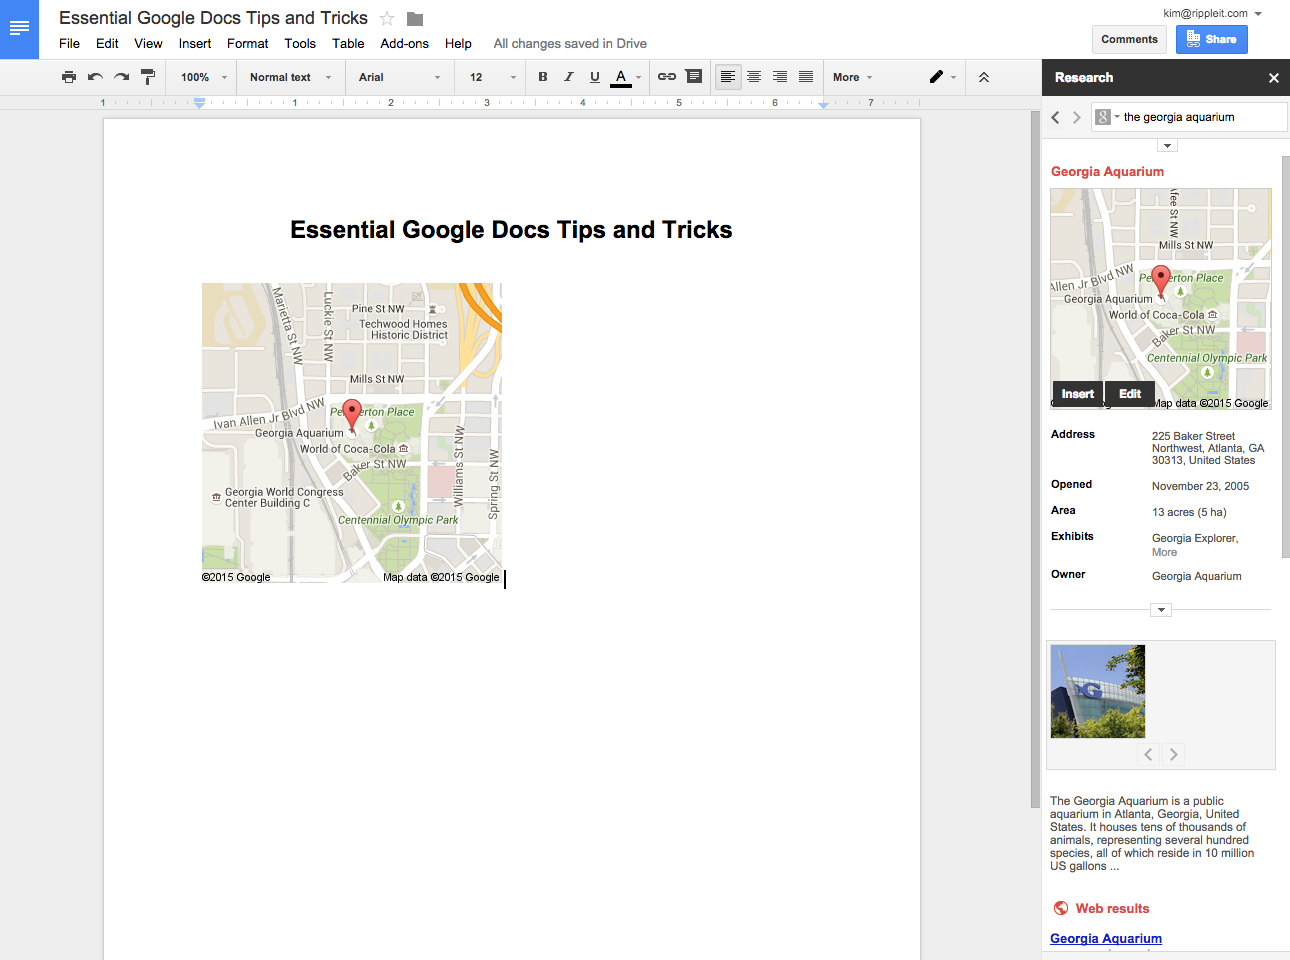
5. Insert maps
Coming up Next…
Stay tuned for more Google Docs tips and tricks! Next, we’ll cover tips for sharing and collaborating, shortcuts and tricks to speed up your editing, and how to use add-ons and integrations.
What Google Docs tips help you stay productive? Leave them in the comments below!
Don't Fall Behind!
Get the latest work-from-home and Humans First® IT tips straight to your inbox.