
We hear this a lot:
“Due to organizational changes, we need to replace our previous Google domain with a new one.”
Unfortunately, there isn’t a simple button to switch to a different Google Domain -but that doesn’t mean it’s impossible!
Requirements:
- G Suite Admin access to the old Domain (domain1)
- G suite Admin access to the new Domain (domain2)
One thing to keep in mind: Understand that if your new Domain is NOT on G Suite yet you’ll need to set it up as if you were starting from scratch.
If the new domain is not on Google yet, simply click here and then navigate over to the “get started” button.
Follow the instructions Google provides. It’ll be just as easy as the first time you setup a Google Domain. Keep in mind that you must have admin access to the domain (read: mx records, cname, domain configuration, etc are something you can alter).
Want to skip the DIY?
Another thing to keep in mind: In some cases, your “new” domain might already be a domain alias.
For example, if your company is SuperCoolRocknRoll.com, it’s possible you have a domain alias of SuperCoolRockandroll.com or SuperCoolRock.com depending on what domains you already own. If the domain you’re setting up on Google is currently an alias, you’ll need to remove it as an alias. Now that you’re domains are set, be sure to follow all of the steps in the G Suite Control panel to ensure G Suite is set. Most importantly, you need to verify your domain ownership and switch over MX records.
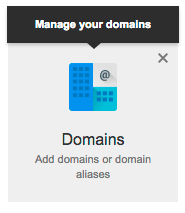
First, get into the admin console and select “Domains”.
Next, select the “Add a domain or a domain alias” button. You’ll see this:
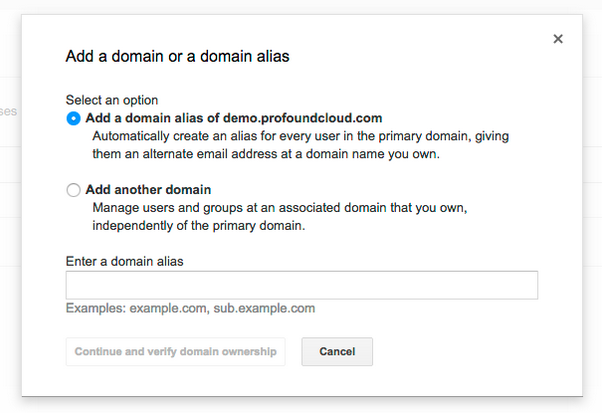
In this case, you’re going to want to select “Add a domain alias” so add it under the where it reads Add another domain and click on “Continue and verify domain ownership”
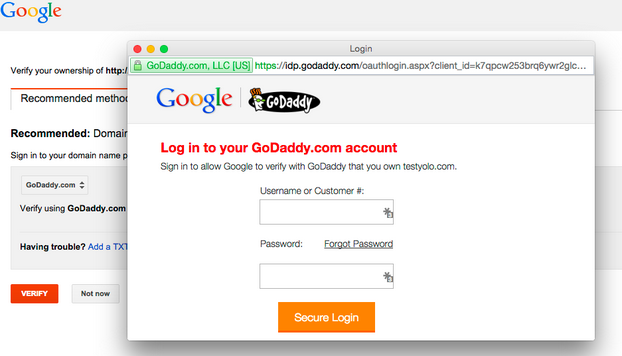
You’ll now see this:

This requires you to prove you own the domain so be sure to follow the steps very carefully. We suggest you follow the instructions under the “recommended method” tab and simply select where you purchased the domain from. For example, you might have bought the domain from Go Daddy. If so, you’d select Go Daddy and get the following screen:
Follow the instructions and then you should be set!
If you’d rather add a TXT file, click on “Add a TXT file” instead where it’ll take you here:
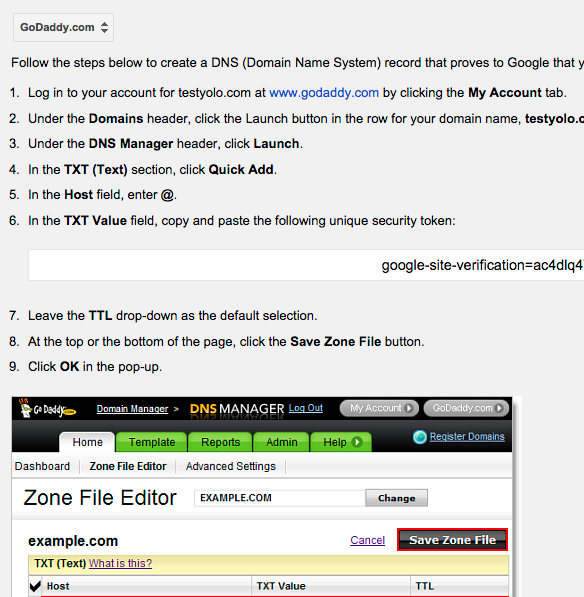
Follow these instructions and you’ll be ready for the next step.
Heads up: This could take a hour or depending on which method you choose. Grab a coffee if you have a chance!
Of course, you need to PAY for G Suite so do be sure to click on Billing and make sure your info is accurate.
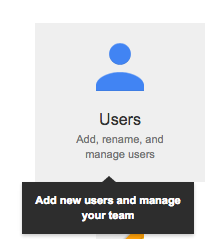
Let’s add some users! In the admin console, Click on Users:
Then, look for this button…
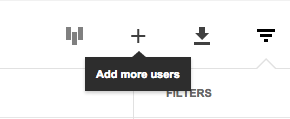
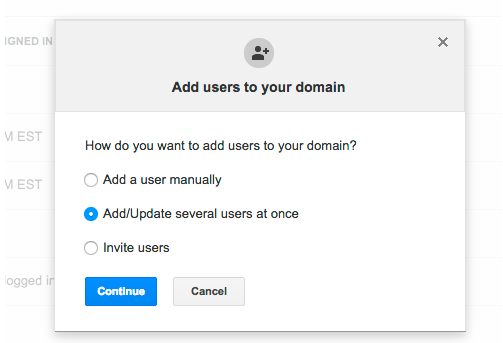
After clicking the button, you’ll see that Google provides you multiple ways to add users to your domain. The easiest way to get this task done is to elect “Add/Update several users at one and download the CSV template:
This is very easy since Google sends you the template. Once populated, click upload and follow the instructions.
Assuming all of your users are freshly Googled in the new domain, it’s time to setup forwarding.
Note: Go back to the old Google domain!
Forwarding can be done at either the user or org level by the admin. Traditionally we’ve seen that not all accounts need to be forwarded and, although tedious, it may be a simpler task for the admin to apply this forwarding rule to the individual users. However, should you need to set-up a global forwarding or org level forwarding rule, it can be done in the Admin panel under advanced GMail settings.
For per user forwarding, here’s what the Admin would need to do:
Click on Users Again…
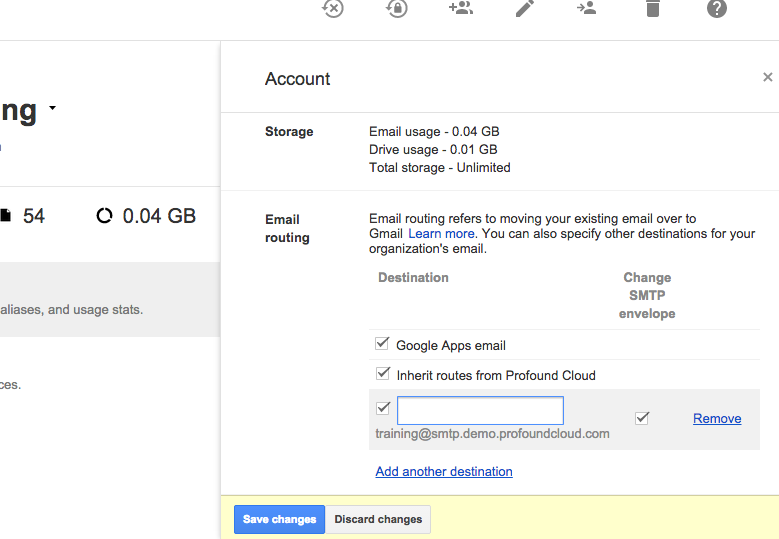
Click on the user you want to setup forwarding for and then click on “account” and then scroll down to Add another destination:
If you decided to setup a domain forwarding rule, you could opt that all users inherit the route you previously selected.
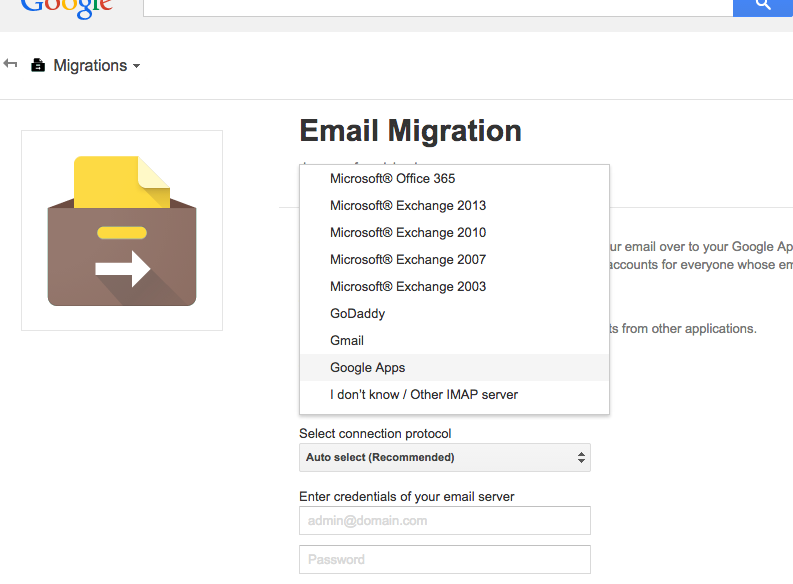
Google was kind enough to add migration functionality directly in G Suite! In the admin console you’ll see the option to migrate and, as noted below, you’ll be able to send from domain1 to domain2.
There’s a good chance it will work just fine. If you’re reluctant though (or need more than mail migrated), reach out to us for a quote and we’ll perform the all of this for you.
Assuming everything went smoother than peanut butter, you only have one step left: remove the old G Suite domain and make it a domain alias in the new G Suite account.
Don't Fall Behind!
Get the latest work-from-home and Humans First® IT tips straight to your inbox.